apollo agent and the http c2 profile installed.
Operations
When you log in with the admin account, you’ll automatically have your current operation set to the default operation. Your current operation is indicated in the top bar in big letters. When other operators sign in for the first time, they won’t have an operation set to their current operation. You can always click on the operation name to get back to the operations management page (or click the hamburger icon on the left and select operations on the side).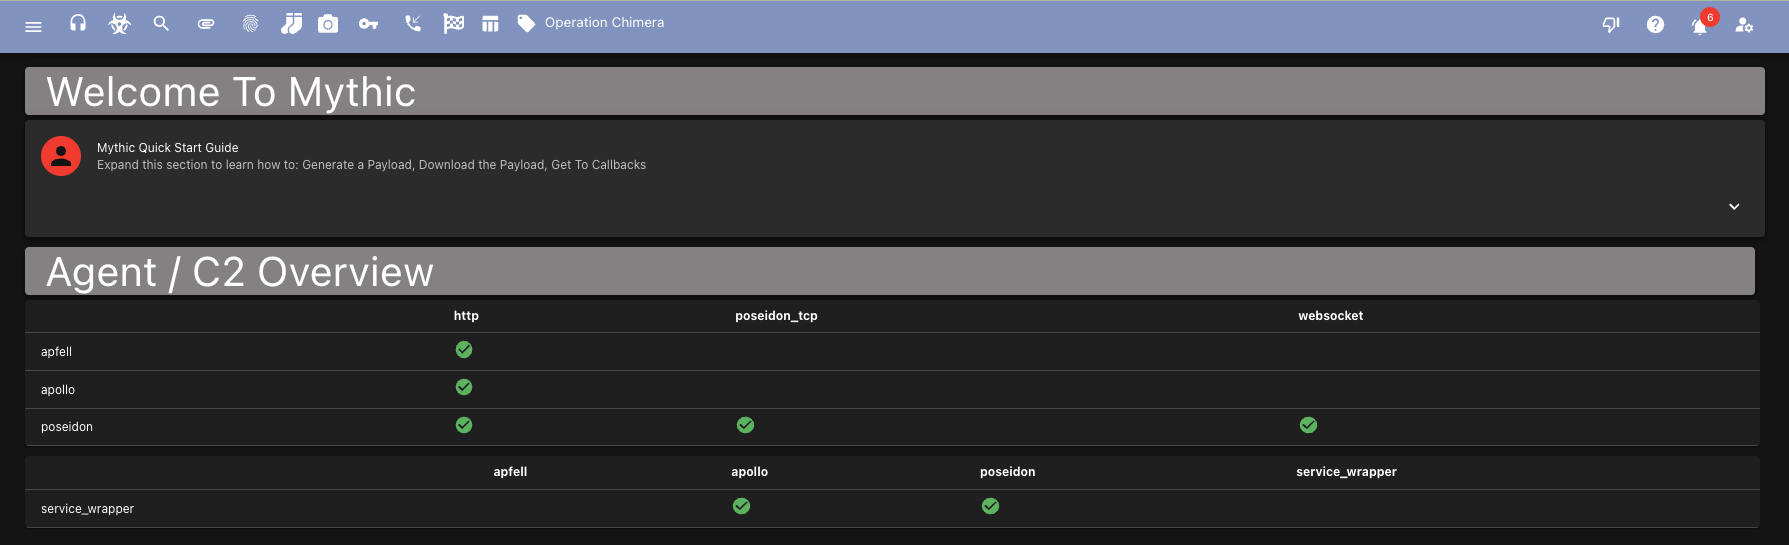
Creating a Payload
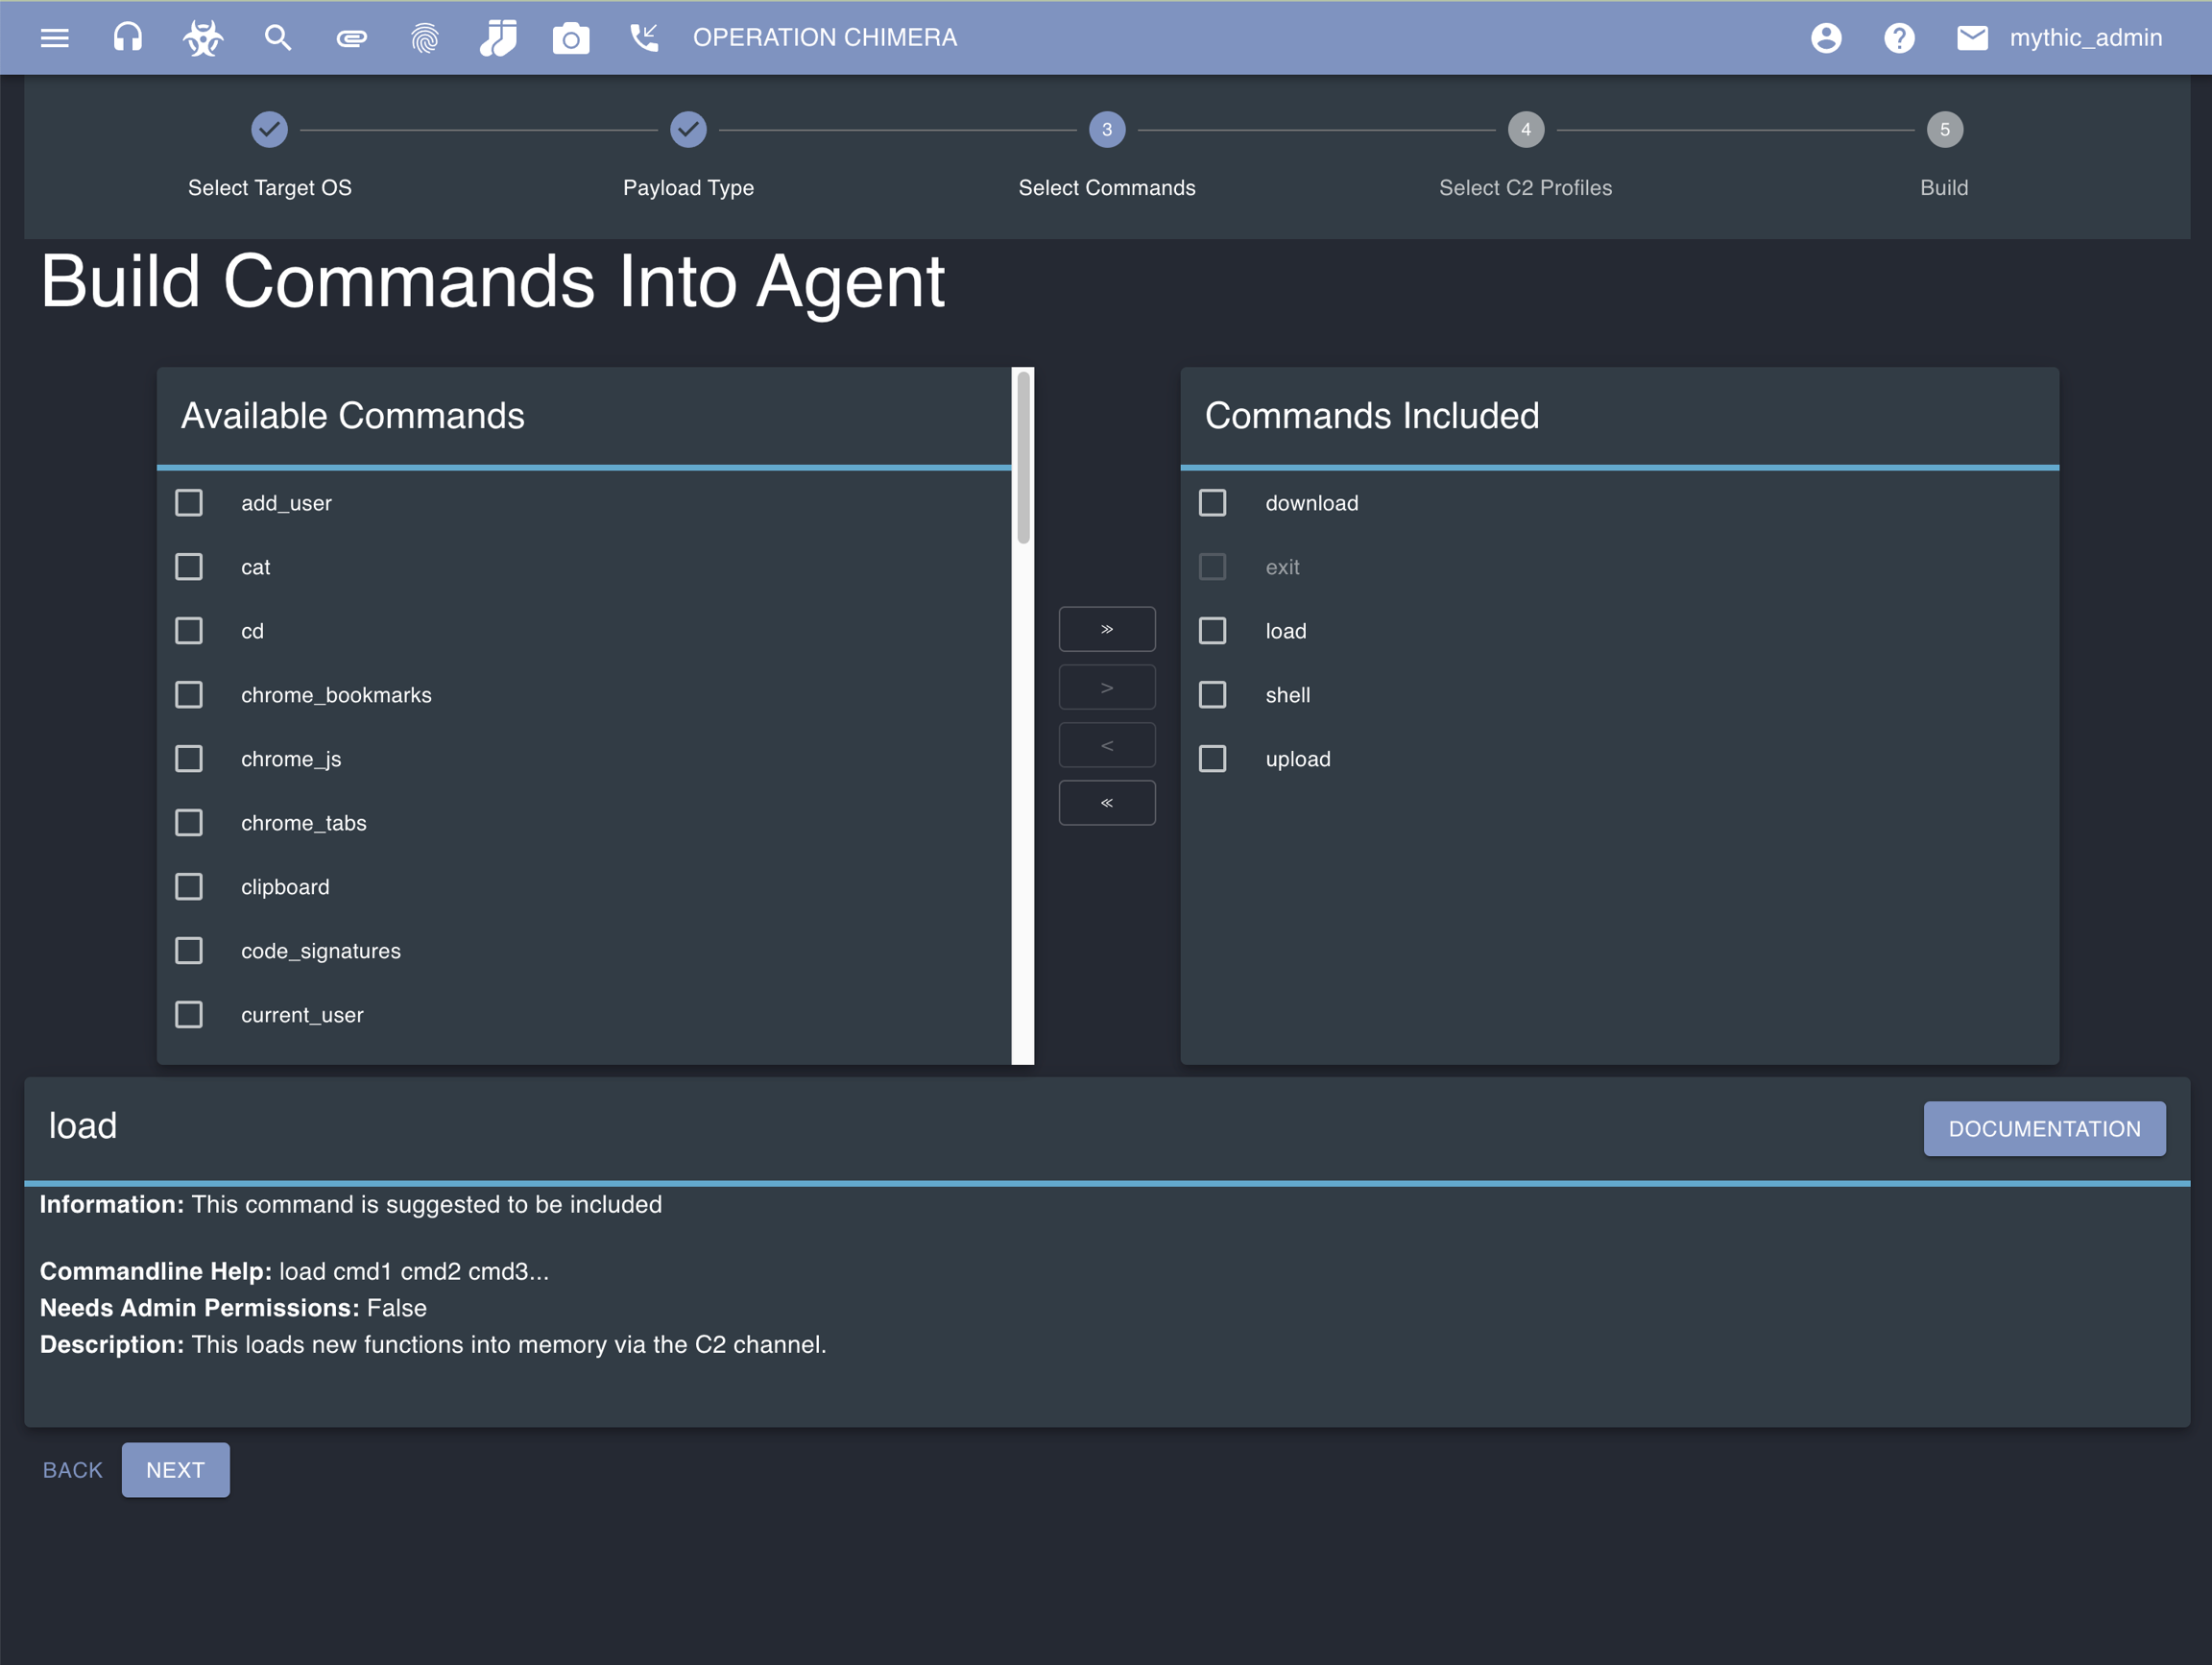
You need a payload to use. Click the hazard icon at the top and then select “New Payload” on the top right of the new screen. You can also get here by selecting the hamburger icon on the top left and selecting “Create” -> “Create Payload”. You’ll be prompted to select which operating system. This is used to filter down possible payloads to generate. Next select the payload type you’re wanting to build and fill out any necessary build parameters for the agent. Click Next. Select any commands you want stamped into the payload initially (some agents support this type of dynamic loading, some don’t). This will show commands not yet selected on the left and commands already selected on the right. There are some that might be pre-selected for you based on the agent developer (some are built in and can’t be removed, some suggested, etc). If you hover over any of the commands you can see descriptive information about them. You can potentially load commands in later, but for this walkthrough select all of them. ClickNext.
HTTP profile. Change the Callback host parameter to be where you want the agent to connect to (if you’re using redirectors, you specify that here), similarly specify the Callback port for where you want the agent to connect to. Click Next.
The HTTP profile by default listens on port 80. If you want to connect to port 443 with SSL instead, you need to go to the C2 profile management page (click the headphones at the top) and adjust the configuration for the HTTP profile.
Next.
Once you click submit, you’ll get a series of popups in the top giving feedback about the creation process. The blue notification popups will go away after a few seconds, but the green success or red error messages must be manually dismissed. This provides information about your newly created agent.
If the server within the HTTP profile container wasn’t running when you created the payload (it’s not by default), the Mythic server will automatically start it for you as part of this creation process.
Using the Payload
Click the hazard icon on the top again to go to the created payloads page.. This is where you’ll be able to see all of the payloads created for the current operation. You can delete the payload, view the configuration, or download the payload. For this walkthrough, download the payload (green download icon).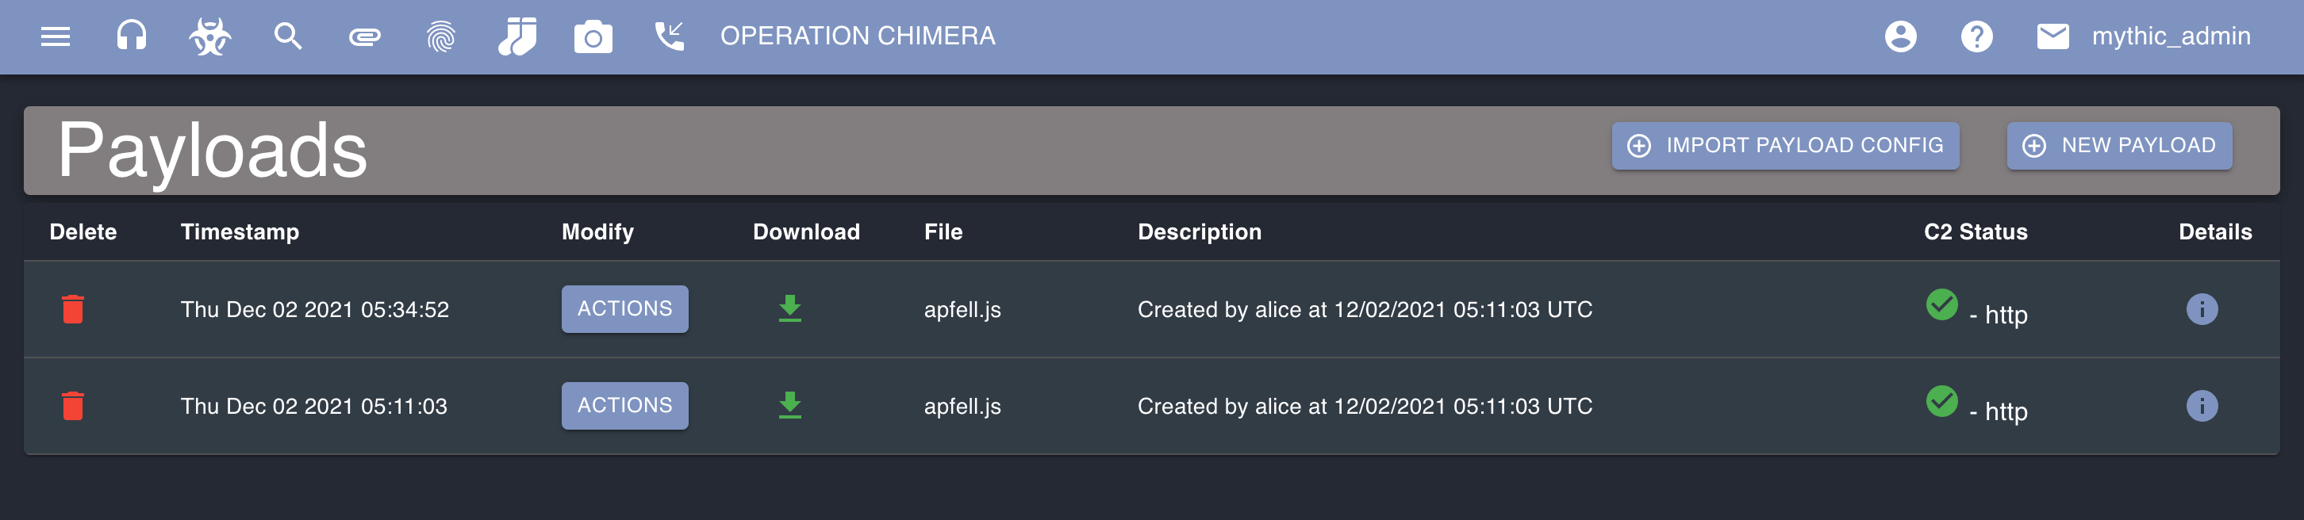
apfell.js payload can be run with osascript and the file name on macOS. Once you’ve done that, head to the Active Callbacks page from the top navigation bar via the phone icon.
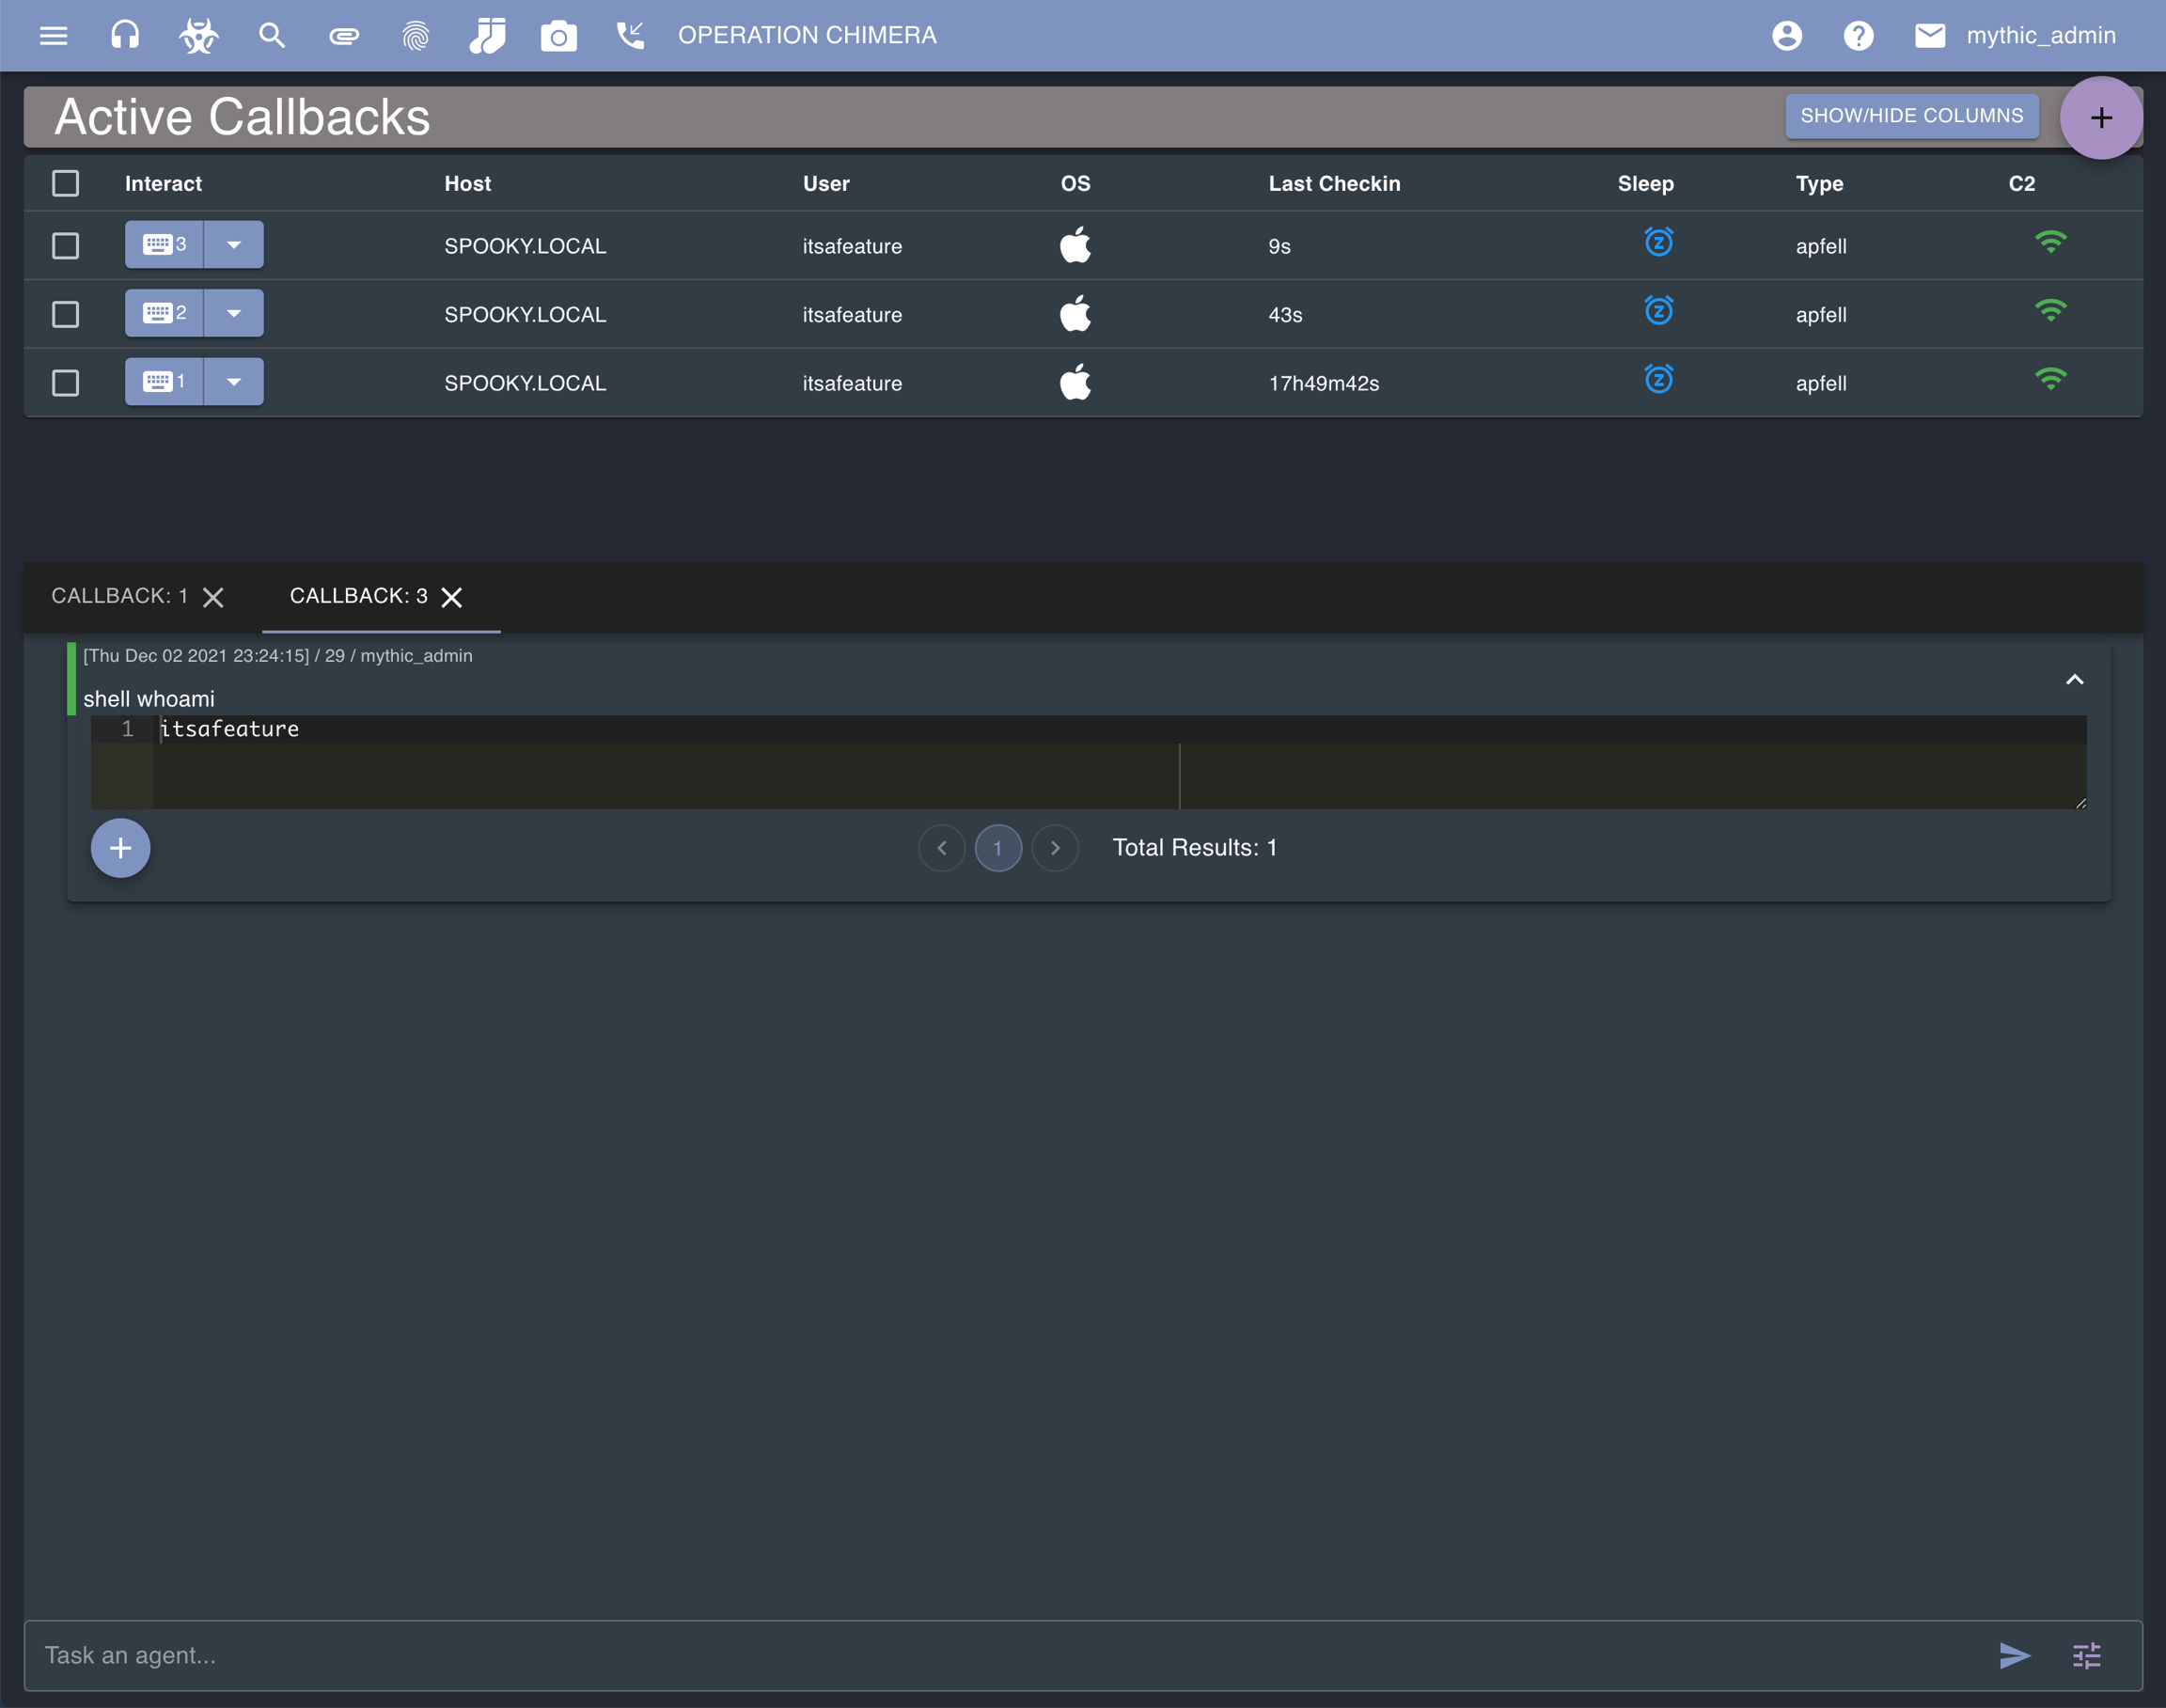
Callback Interaction
This is where you’ll be able to interact with any callback in the operation. Click the button for the row with your new agent to bring up information in the bottom pane where you can type out commands and issue them to the agent.